Welcome to the ultimate guide on how to clean your Green Mountain Grill effectively. As a seasoned grill enthusiast myself, I understand the joy of cooking up mouthwatering dishes on a well-maintained grill.
In this comprehensive guide, I’ll walk you through each step of the cleaning process, ensuring that your grill remains in top-notch condition for years to come.
| Key Takeaways |
|---|
| Regular cleaning enhances food safety and flavor. |
| Proper cleaning prolongs the life of your grill. |
| Use appropriate tools and cleaning solutions. |
| Safety precautions are crucial during cleaning. |
| Grates, drip pans, and burners need regular care. |
| Clear burner tubes to ensure even heat distribution. |
| Exterior cleaning and maintenance are essential. |
| Empty the ash catcher to maintain airflow. |
| Follow expert tips for a longer grill life. |
| Troubleshoot common grill issues effectively. |
| Proper storage during off-season prevents damage. |
| Expert resources provide additional insights. |
Step 2: The Importance of Regular Grill Cleaning

Picture this: you’re all set to grill a succulent steak, but as you lift the lid of your Green Mountain Grill, you’re greeted by a layer of grease, grime, and remnants from your last barbecue. Regular grill cleaning isn’t just about aesthetics; it’s essential for food safety, flavor preservation, and the longevity of your grill. A clean grill not only cooks better but also minimizes the risk of flare-ups and uneven cooking.
To ensure your grill’s longevity, follow these Dos and Don’ts of grill maintenance. Avoid common mistakes that can harm your grill and enjoy years of delicious BBQ.
Step 3: Necessary Tools and Materials
Before we dive into the cleaning process, gather your arsenal of cleaning tools. You’ll need:
- Table: Tools and Materials
| Tool/Material | Purpose |
| Grill brush | Scraping grates |
| Wire brush | Cleaning burner tubes |
| Putty knife | Removing stubborn residue |
| Warm, soapy water | Basic cleaning solution |
| Vinegar solution | Degreasing and deodorizing |
| Microfiber cloth | Wiping down exterior and interior |
| Bucket of water | Rinsing off cleaning solutions |
Step 4: Safety Precautions Before Cleaning
Safety first! Before you begin, ensure your grill is disconnected from the power source (if applicable) and has completely cooled down. Cleaning a hot grill can lead to burns and accidents. Moreover, work in a well-ventilated area to avoid inhaling fumes from cleaning solutions.
Step 5: Preparing the Grill for Cleaning

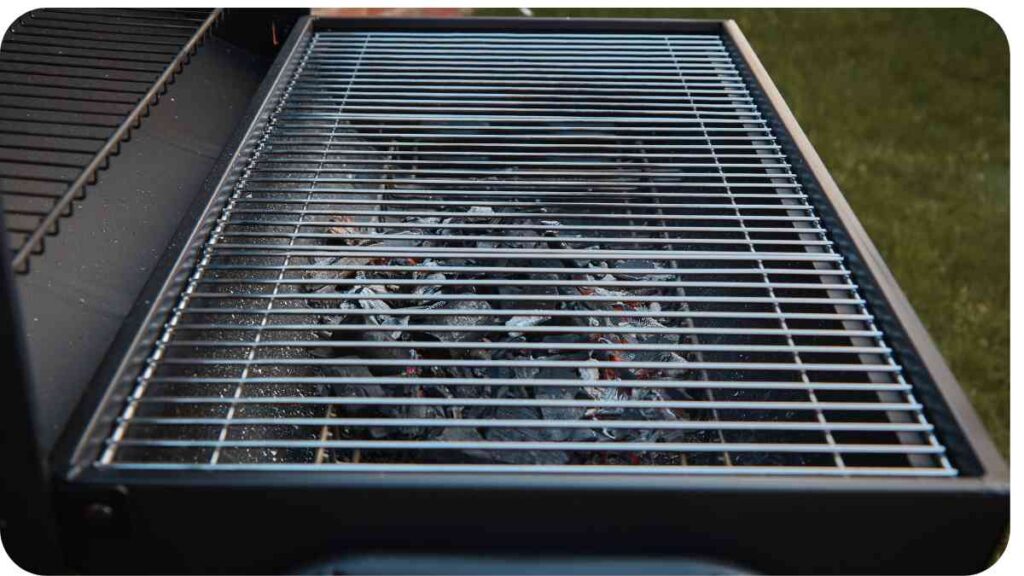
Now that we’ve covered the essentials, let’s roll up our sleeves and get started. Begin by removing the grates, drip pans, and any other removable parts from your Green Mountain Grill. These components need thorough cleaning, and removing them makes the process much more manageable.
- Table: Tools and Materials
| Tool/Material | Purpose |
| Grill brush | Scraping grates |
| Putty knife | Removing stubborn residue |
| Warm, soapy water | Basic cleaning solution |
Remember, each of these steps is pivotal for maintaining the cleanliness and functionality of your grill. Let’s continue this journey in the next section, where we’ll delve into cleaning the grates and drip pans. If you’re ready, let’s keep going!
Discover why cleaning your grill is as crucial as cooking on it. Learn how regular cleaning enhances flavor, safety, and the overall grilling experience.
Step 6: Cleaning the Grates and Drip Pans
Now, let’s focus on the heart of your grill—the grates and drip pans. These components are where the magic happens, but they’re also prone to buildup that can affect the taste of your food. Here’s how to clean them effectively:
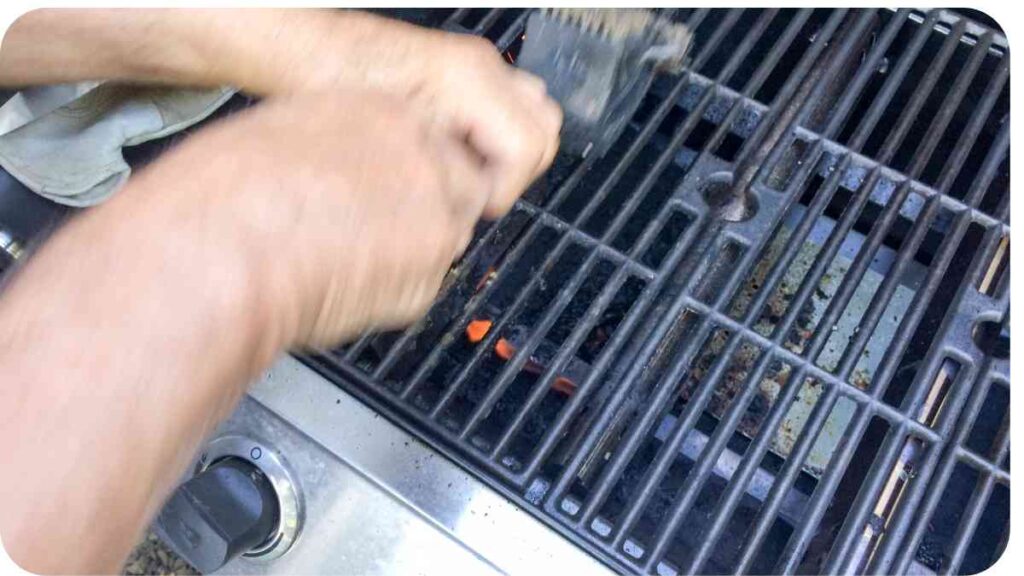
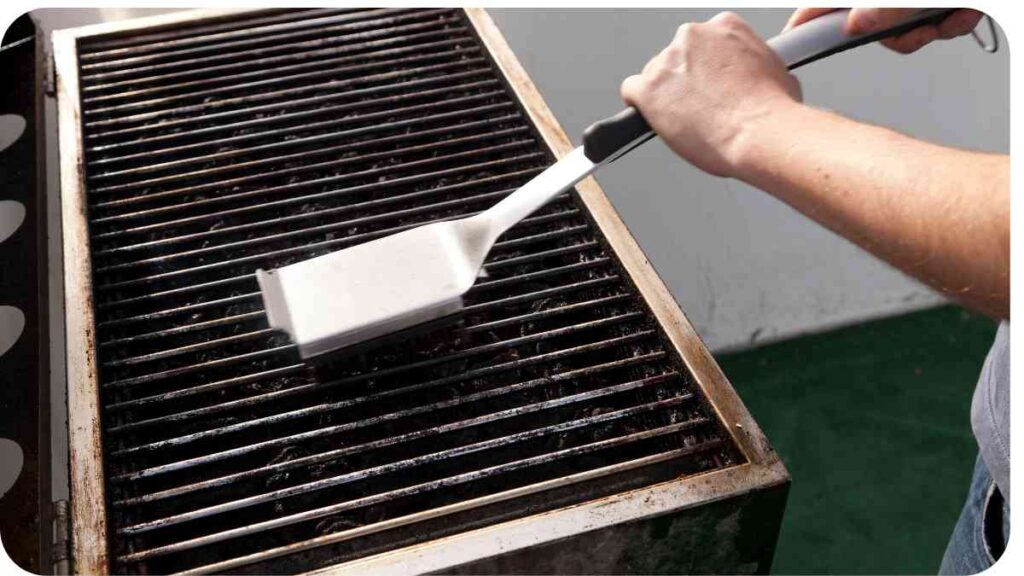
- Scrape Away Debris: Use a grill brush to remove any large debris from the grates. A putty knife can be handy for scraping off stubborn residue.
- Soak and Scrub: Submerge the grates and drip pans in warm, soapy water for about 15 minutes. This helps loosen grease and residue. Then, scrub them with a brush or sponge to remove the remaining grime.
- Rinse Thoroughly: Rinse the grates and drip pans with clean water to wash away soap residue.
- Drying: Allow the components to air dry completely before placing them back into the grill.
- Table: Cleaning Solutions Comparison
| Cleaning Solution | Pros | Cons |
| Warm, soapy water | Gentle on surfaces, widely available | May not remove tough grease |
| Vinegar solution | Natural degreaser, deodorizes | Strong odor, may require rinsing |
Step 7: Clearing the Burner Tubes
Proper gas flow is crucial for efficient grilling. The burner tubes are notorious for clogging due to grease and debris. To clean them:
- Turn Off Gas: Ensure the gas supply is turned off.
- Remove Tubes: Detach the burner tubes carefully.
- Clean Tubes: Gently clean the tubes using a wire brush. Make sure to clear any blockages.
- Reassemble: Put the burner tubes back in place securely.
Make use of our comprehensive grill maintenance checklist to keep your grill in top shape. Follow these steps for efficient maintenance and long-lasting grilling pleasure.
Step 8: Cleaning the Exterior
Don’t forget the exterior of your grill. A clean exterior not only looks great but also prolongs the life of your grill. Here’s what you need to do:
- Wipe Down: Use a microfiber cloth dipped in warm, soapy water to wipe down the exterior surfaces.
- Stainless Steel Care: If your grill has stainless steel parts, use a stainless steel cleaner to maintain its shine.
- Table: Recommended Cleaning Brushes
| Brush | Purpose |
| Grill brush | Cleaning grates |
| Wire brush | Clearing burner tubes |
| Soft-bristle brush | Cleaning exterior surfaces |
In the next steps, we’ll cover emptying the ash catcher, reassembling the grill, and providing expert tips to ensure your grill stays in prime condition. Ready to keep the cleaning momentum going? Let’s press on!
Step 9: Emptying the Ash Catcher
An often overlooked step, emptying the ash catcher is essential for proper airflow and preventing flare-ups. Follow these steps:
- Wait for Cool Down: Ensure the grill has cooled down before proceeding.
- Remove Ash Catcher: Take out the ash catcher and dispose of the ashes.
- Clean Ash Catcher: Give the ash catcher a quick clean using a brush or cloth to remove any residual ash.
Explore the surprising benefits of regular grill cleaning beyond the obvious. Discover how cleanliness impacts flavor, safety, and the environment.
Step 10: Reassembling the Grill

With all the components now sparkling clean, it’s time to put everything back together:
- Reverse the Steps: Refer to your grill’s manual to ensure you reassemble the grates, drip pans, and other parts correctly.
- Check for Secure Fit: Ensure everything is securely in place and fits properly.
- Check for Gas Leaks: If you’re using a gas grill, perform a quick leak test by turning on the gas and checking for any unusual odors.
- Table: Parts and Their Functions
| Part | Function |
| Grates and Drip Pans | Cooking surface, grease collection |
| Burner Tubes | Gas distribution, heat production |
| Ash Catcher | Collects ashes, airflow |
Step 11: Expert Tips for Prolonged Grill Life
As a seasoned griller, I’ve picked up a few tricks to ensure your Green Mountain Grill’s longevity:
- Regular Cleaning: Make cleaning a routine after every few uses to prevent stubborn buildup.
- Cover Up: Invest in a grill cover to protect your grill from the elements when not in use.
- Oil the Grates: Before grilling, lightly oil the grates to prevent sticking.
- Table: Maintenance Schedule
Get expert advice on keeping your grill running smoothly all season long. Learn maintenance tips from professionals to ensure your grill’s optimal performance.
| Task | Frequency |
| Basic Cleaning | After every few uses |
| Deep Cleaning | Once a month |
| Covering Grill | Always when not in use |
Step 12: Troubleshooting Grill Issues
Even well-maintained grills can run into issues. Here are common problems and solutions:
- Problem: Uneven heating.
- Solution: Clean burner tubes and ensure proper gas flow.
- Problem: Excessive smoke.
- Solution: Check for grease buildup and clean the grates.
- Problem: Flare-ups.
- Solution: Reduce excess grease and keep a spray bottle of water handy.
Step 13: Storing Your Grill for the Off-Season
As the grilling season winds down, it’s crucial to store your grill properly:
- Deep Clean: Give your grill a thorough cleaning before storage.
- Cover Up: Use a high-quality grill cover to protect it from the elements.
- Store Indoors: If possible, store your grill in a dry, cool place to prevent rust.
Step 14: Frequently Asked Questions (FAQs)
Got questions? Here are some common queries answered:
- Q: Can I use oven cleaner on my grill grates?
- A: It’s best to avoid oven cleaner as it might leave harmful residues. Stick to grill-specific cleaning agents.
- Q: Can I clean my grill while it’s still warm?
- A: It’s safer and more effective to clean your grill when it’s cool to the touch.
Step 15: Conclusion
Congratulations! You’ve completed the ultimate guide to cleaning your Green Mountain Grill. By following these step-by-step instructions and incorporating regular maintenance, you’re ensuring not only a clean cooking surface but also a prolonged lifespan for your beloved grill. So, fire up that grill with confidence and enjoy delicious, perfectly cooked meals every time!
Remember, a well-maintained grill is the secret ingredient to becoming a true grill master. Happy grilling!
Further Reading
For more insights on cleaning and maintaining your Green Mountain Grill, check out these helpful resources:
- How to Clean Your Green Mountain Pellet Grill the Right Way
- Discover detailed step-by-step instructions for a thorough grill cleaning process.
- GMG Davy Crockett Service Tips & Tricks
- Uncover expert tips and tricks specifically tailored for the Green Mountain Davy Crockett grill model.
- How to Clean Your Green Mountain Grill
- Gain insights from a grilling enthusiast who shares personal experiences and methods for maintaining your grill’s cleanliness.
FAQs
How often should I clean my Green Mountain Grill?
Regular cleaning is recommended, especially after every few uses to prevent grease buildup. A deep cleaning should be performed once a month.
Can I use regular oven cleaner on my grill grates?
It’s best to avoid regular oven cleaner, as it may leave harmful residues on your grill grates. Stick to cleaning agents specifically designed for grills.
How do I prevent flare-ups while grilling?
To prevent flare-ups, reduce excess grease by cleaning the grates regularly. Keep a spray bottle of water nearby to control flare-ups if they occur.
Can I clean my grill while it’s still warm?
It’s safer and more effective to clean your grill when it’s cool to the touch. Cleaning a hot grill can lead to burns and accidents.
How do I store my grill during the off-season?
Before storing your grill, give it a thorough cleaning. Use a high-quality grill cover to protect it from the elements, and if possible, store it indoors in a dry, cool place to prevent rust.

Hi there! I’m Hellen James, and I’m a grilling enthusiast. I’ve been grilling for years, and I absolutely love it. I love how it brings people together and how you can feed your family with just a few minutes of work.

